
How to Record a FaceTime Call
FaceTime has revolutionized our approach to mobile communication. Be it a casual chat with a friend or a critical business conference, the need to preserve these conversations can arise for various purposes. Thankfully, armed with suitable applications and software, you can effortlessly record a FaceTime call.
Note that on your iPhone or iPad, you cannot record audio with the built-in screen recording.
How to Record a FaceTime Call on iPhone or iPad
Note: you will be recording the FaceTime Call without audio.
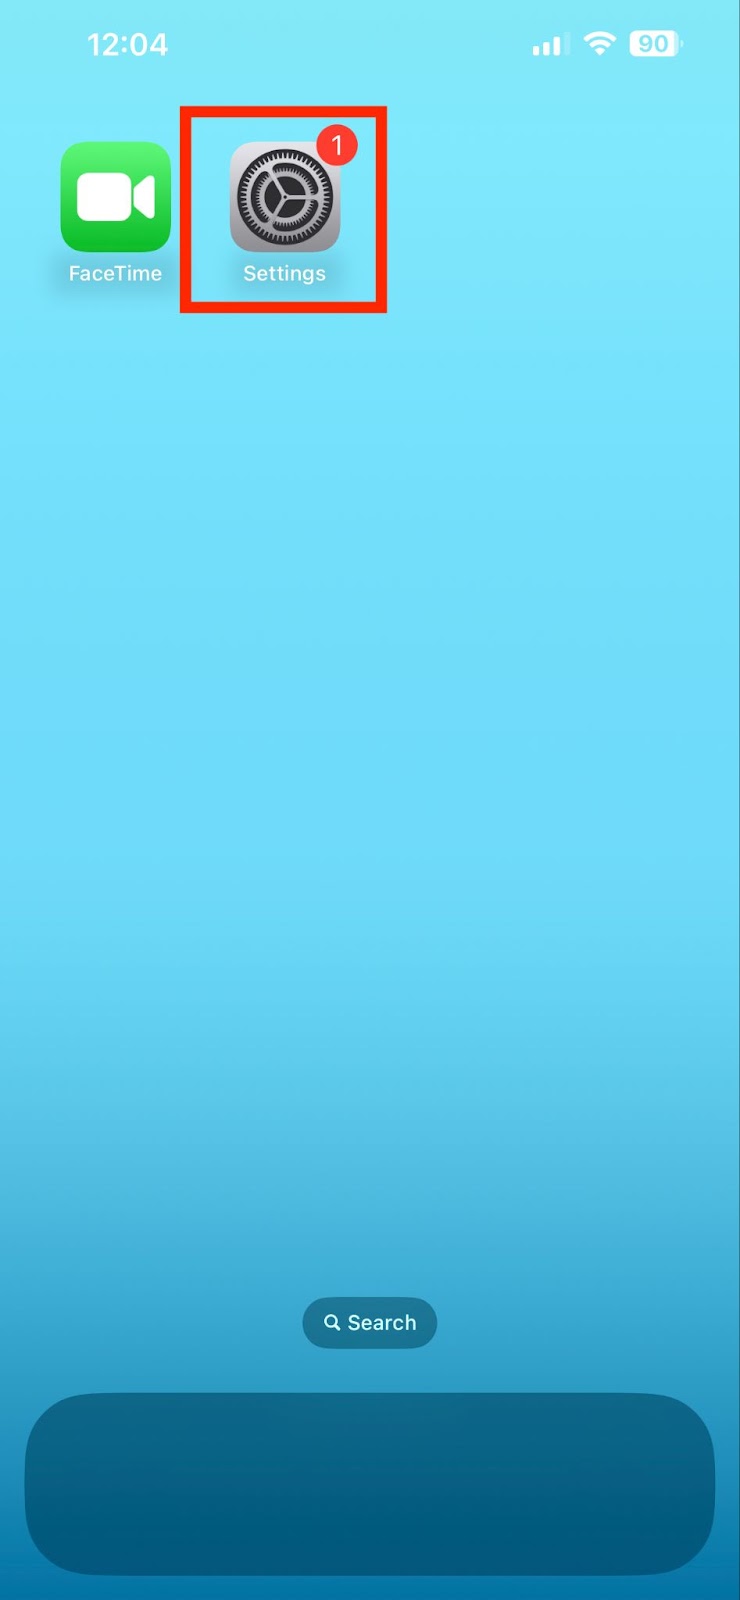
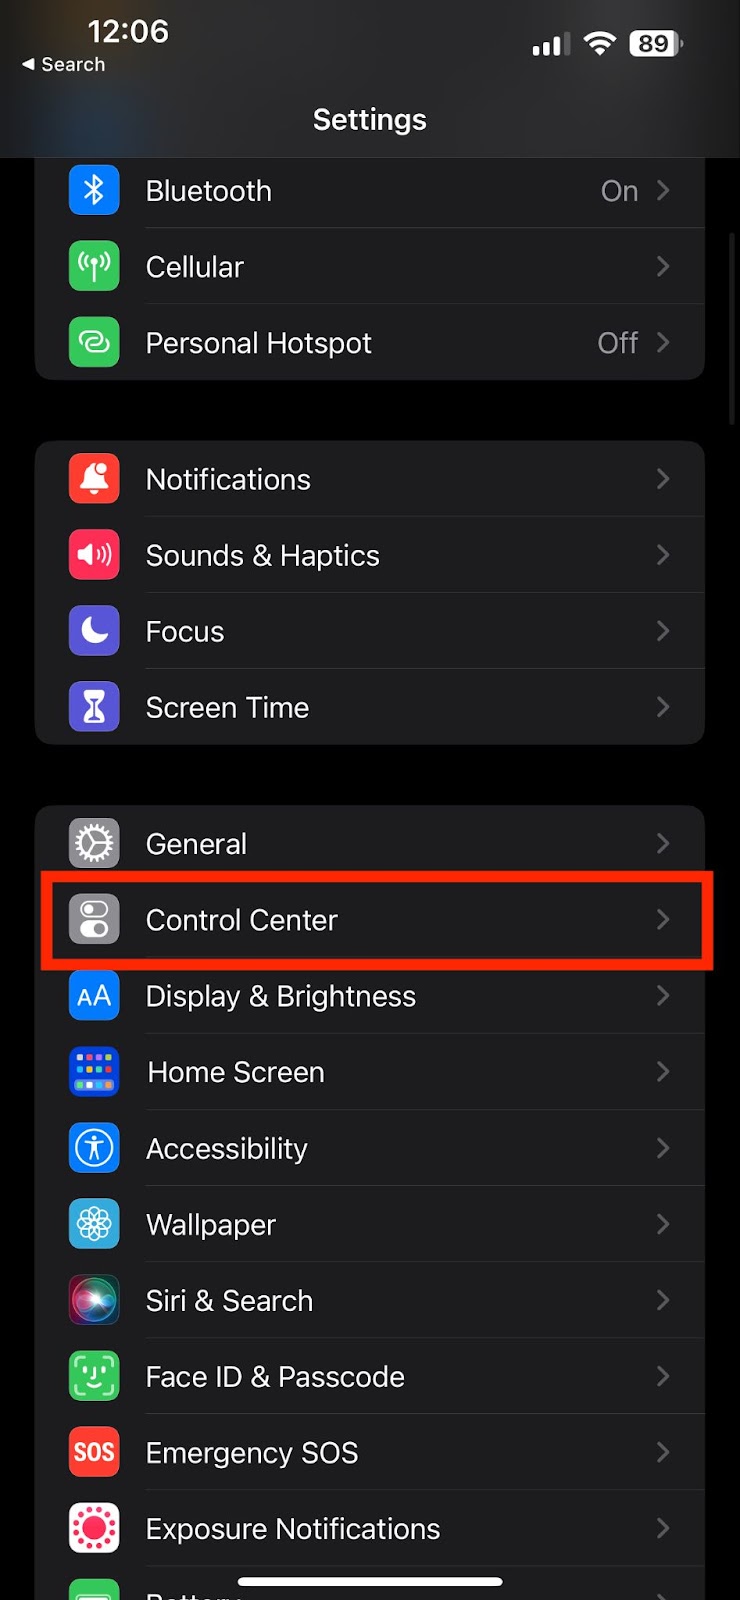
In your Settings, go to the Control Center section.
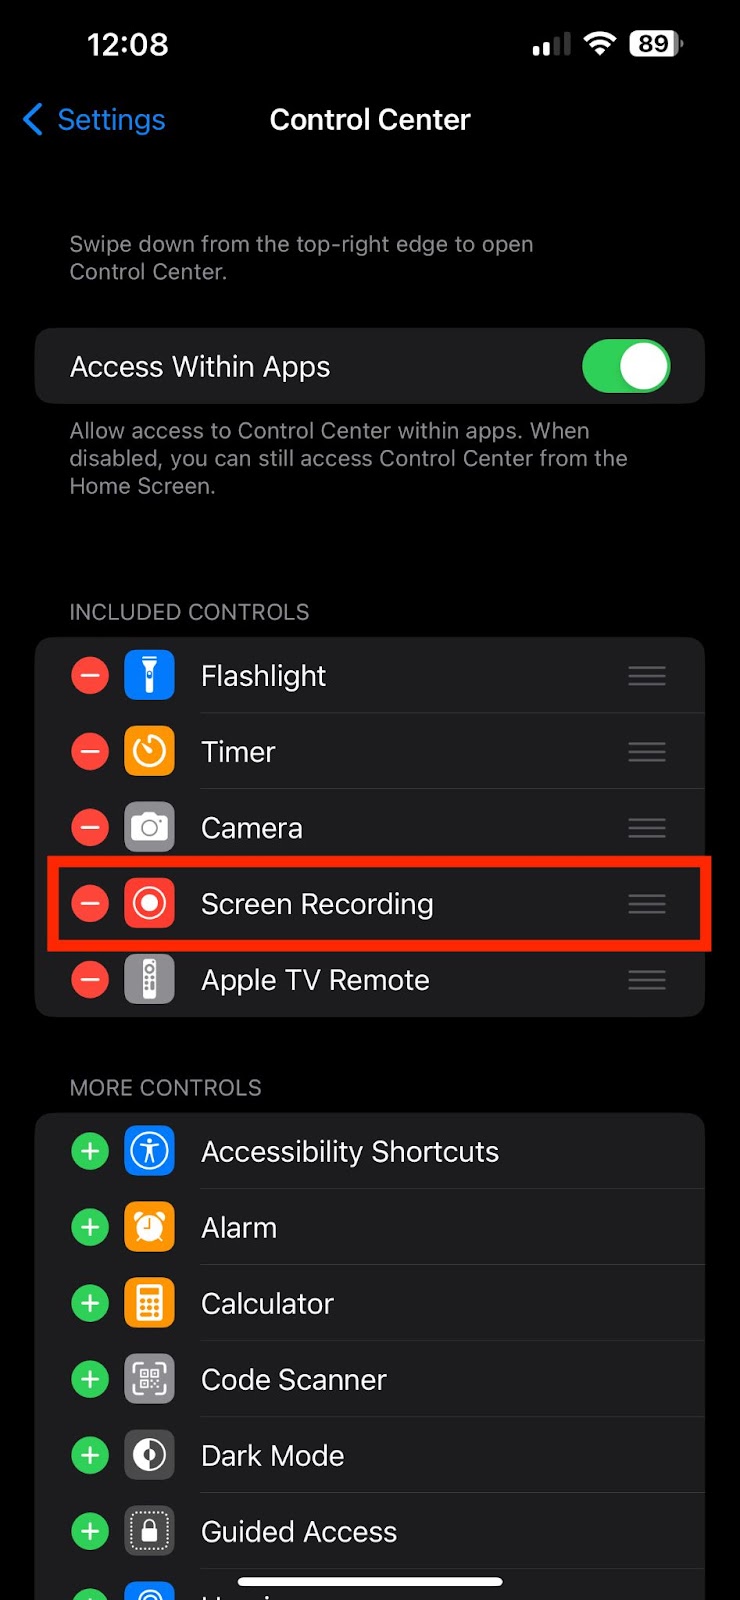
Make sure the Screen Recording tool is located on your Control Center or add it to your Control Center by clicking the green plus arrow.
Go to the FaceTime App on your iPhone or iPad.

Start a new FaceTime.

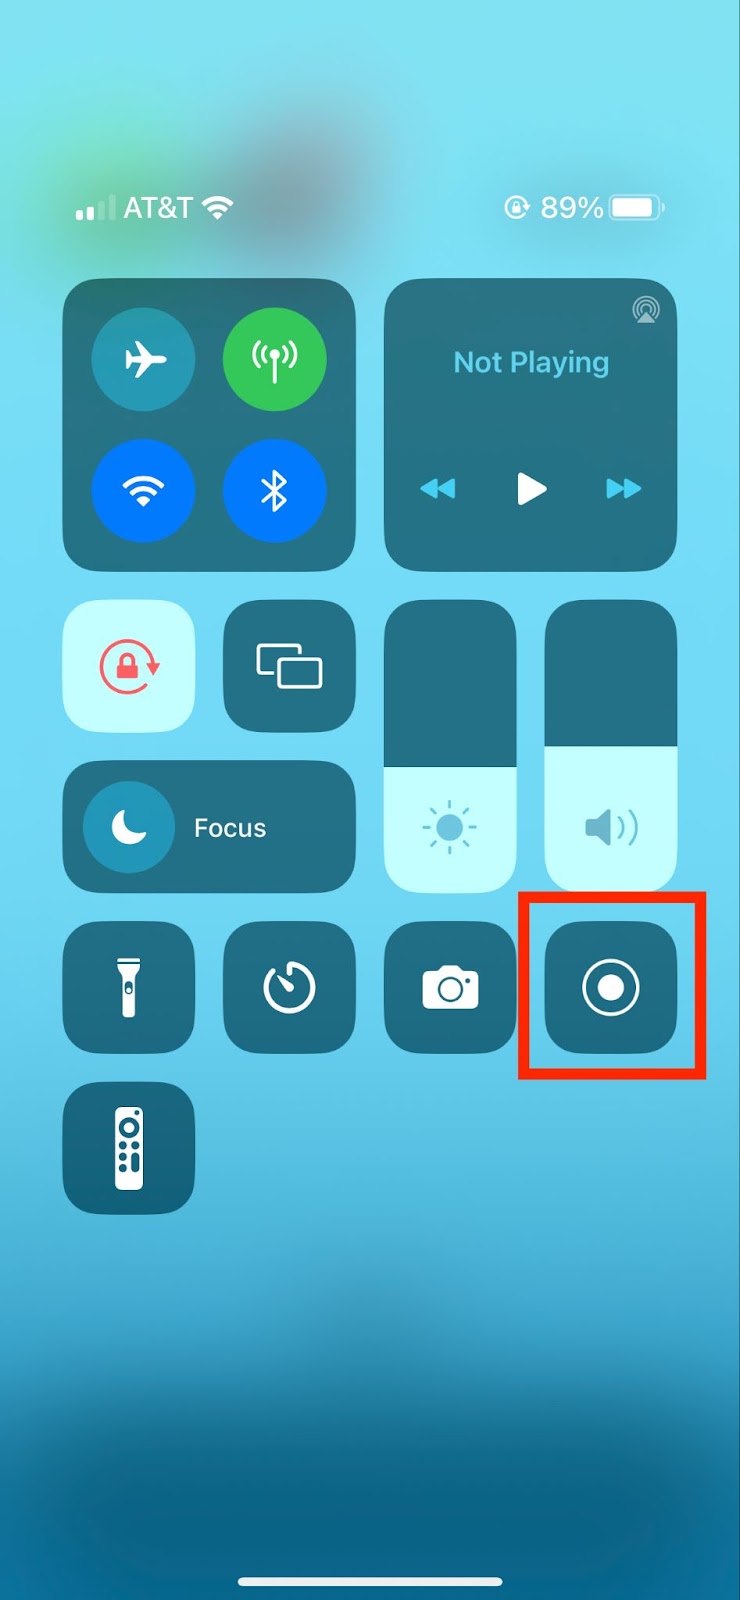
Now scroll down from the top right of your screen and tap the Screen Recording Icon.
You can go back to your FaceTime Call and it will start recording three seconds after you pressed the button.
To end the screen recording, scroll down from the top right of your screen and tap the Screen Recording Icon again.
Your screen recording will be saved in your photos.
How to Record a FaceTime Call on a Mac
Open the FaceTime app and start a FaceTime call.
Now press Command + Shift + 5 to open up the screen recording menu. When you are happy with the aspect ratio of the screen recording, click record.
To stop the screen recording, click the Stop button or Command-Control-Esc (Escape).
Your screen recording will be saved on your desktop.
How to Get Captions on a FaceTime Call
You can get captions on your FaceTime calls using the Ava app. Ava provides live captions anywhere you go. Simply open up the Ava app, start a new captioning session, and then go back to your FaceTime call. You’ll be able to see live captions on your conversation and you can also store the transcript for future reference.